Introduction
This lab covers the process of taking MIDI messages sent from the Arduino and creating sound with them via a Digital Audio Workstation (DAW) such as Ableton LIVE, Logic or Garageband.
What You’ll Need to Know
To get the most out of this lab, you should be familiar with the following concepts. You can check how to do so in the links below:
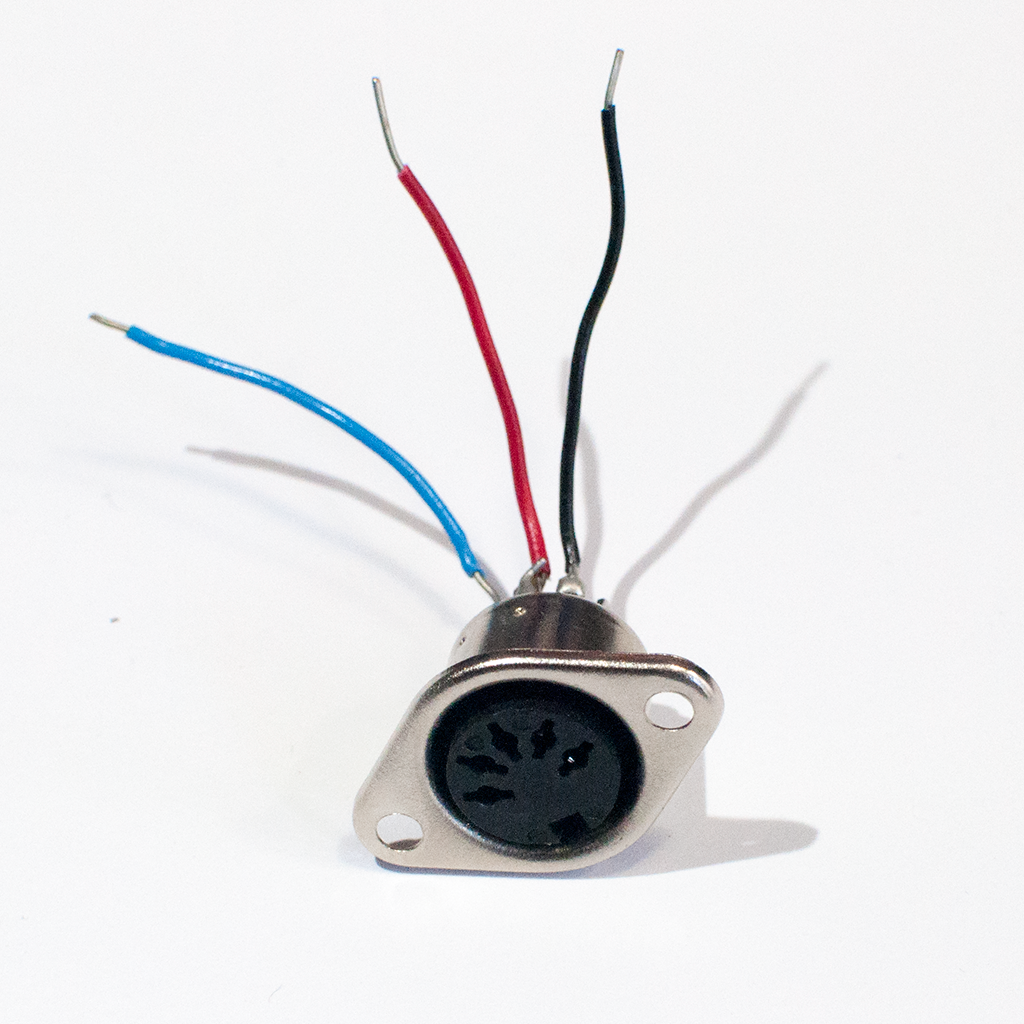
- How to Solder a connector
- Digital Input with Arduino
- Analog Input with Arduino
- What is an Arduino Library
- How to communicate serially with the Arduino and how to send values serially in different formats
- How to send MIDI Output using Arduino
Things You’ll Need


MIDI approaches: Serial, SoftwareSerial, or MIDIUSB
There are three approaches you can take to MIDI output, depending on the board you’re using and the application you have in mind.
If you’re communicating with a MIDI sound module like a synthesizer or sample, you’ll need to use either Serial or SoftwareSerial output. On the Uno, SoftwareSerial is best. On most other Arduino models, there is a second hardware serial port, Serial1, that you can use for MIDI output.
If you’re communicating with a MIDI program like Ableton, GarageBand, or a soundFont synth like Sforzando, either on a laptop or mobile device, then MIDIUSB is the way to go. The Uno can’t communicate using MIDIUSB, but the Nano 33 IoT, the MKR series, the Leonardo, Micro, or Due can.
SoftwareSerial Approach
If you’re using an Uno or any board with only one serial port, the SoftwareSerial library is your best bet. This section describes how to wire and program your board for SoftwareSerial.
Build the MIDI Circuit
Use the MIDi circuit from the MIDI Output lab, or any variation on it you want, as long as it sends MIDI:
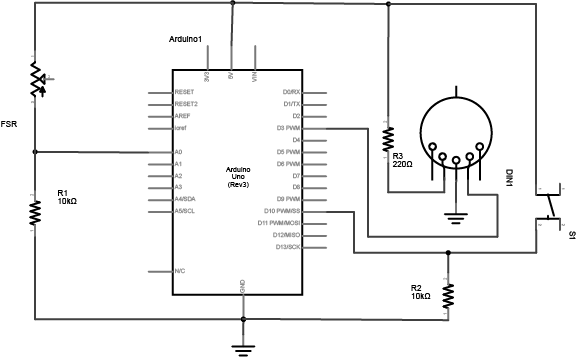

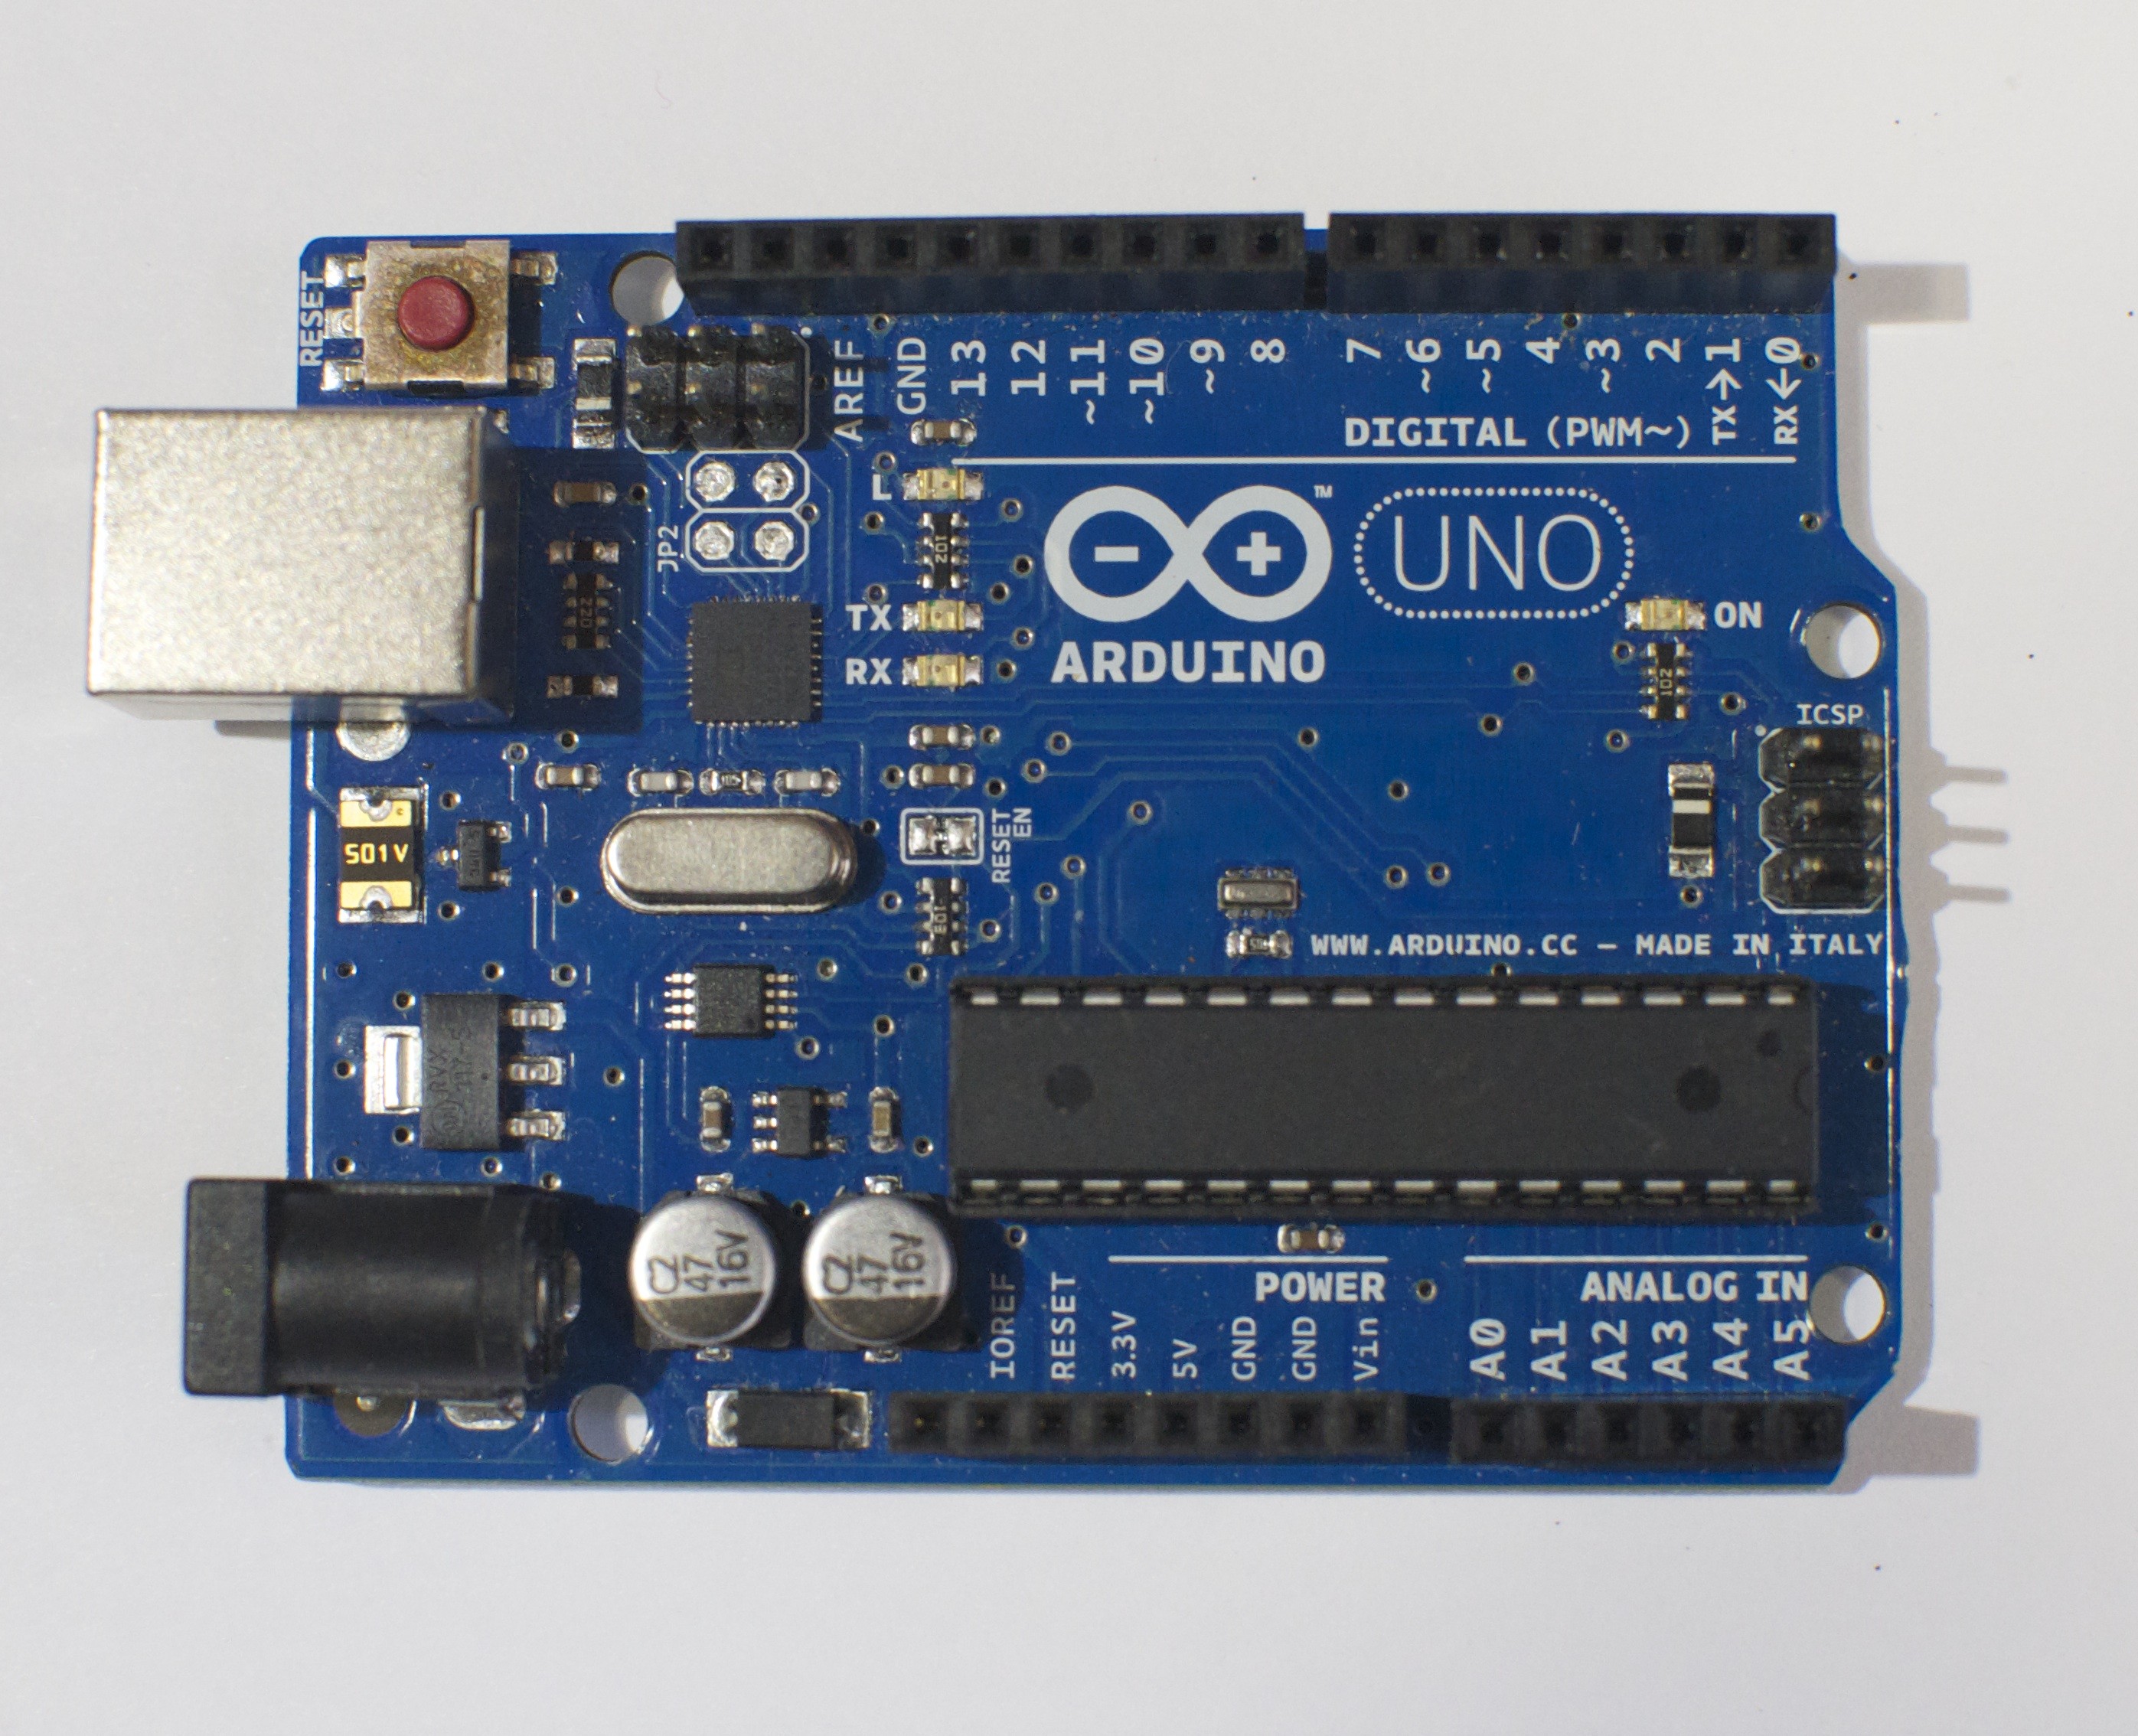
This circuit doesn’t actually match the MIDI specification, but it works with all the MIDI devices we’ve tried it with. This circuit includes an analog and a digital sensor to allow for physical interactivity, but those aren’t necessary to send MIDI data.
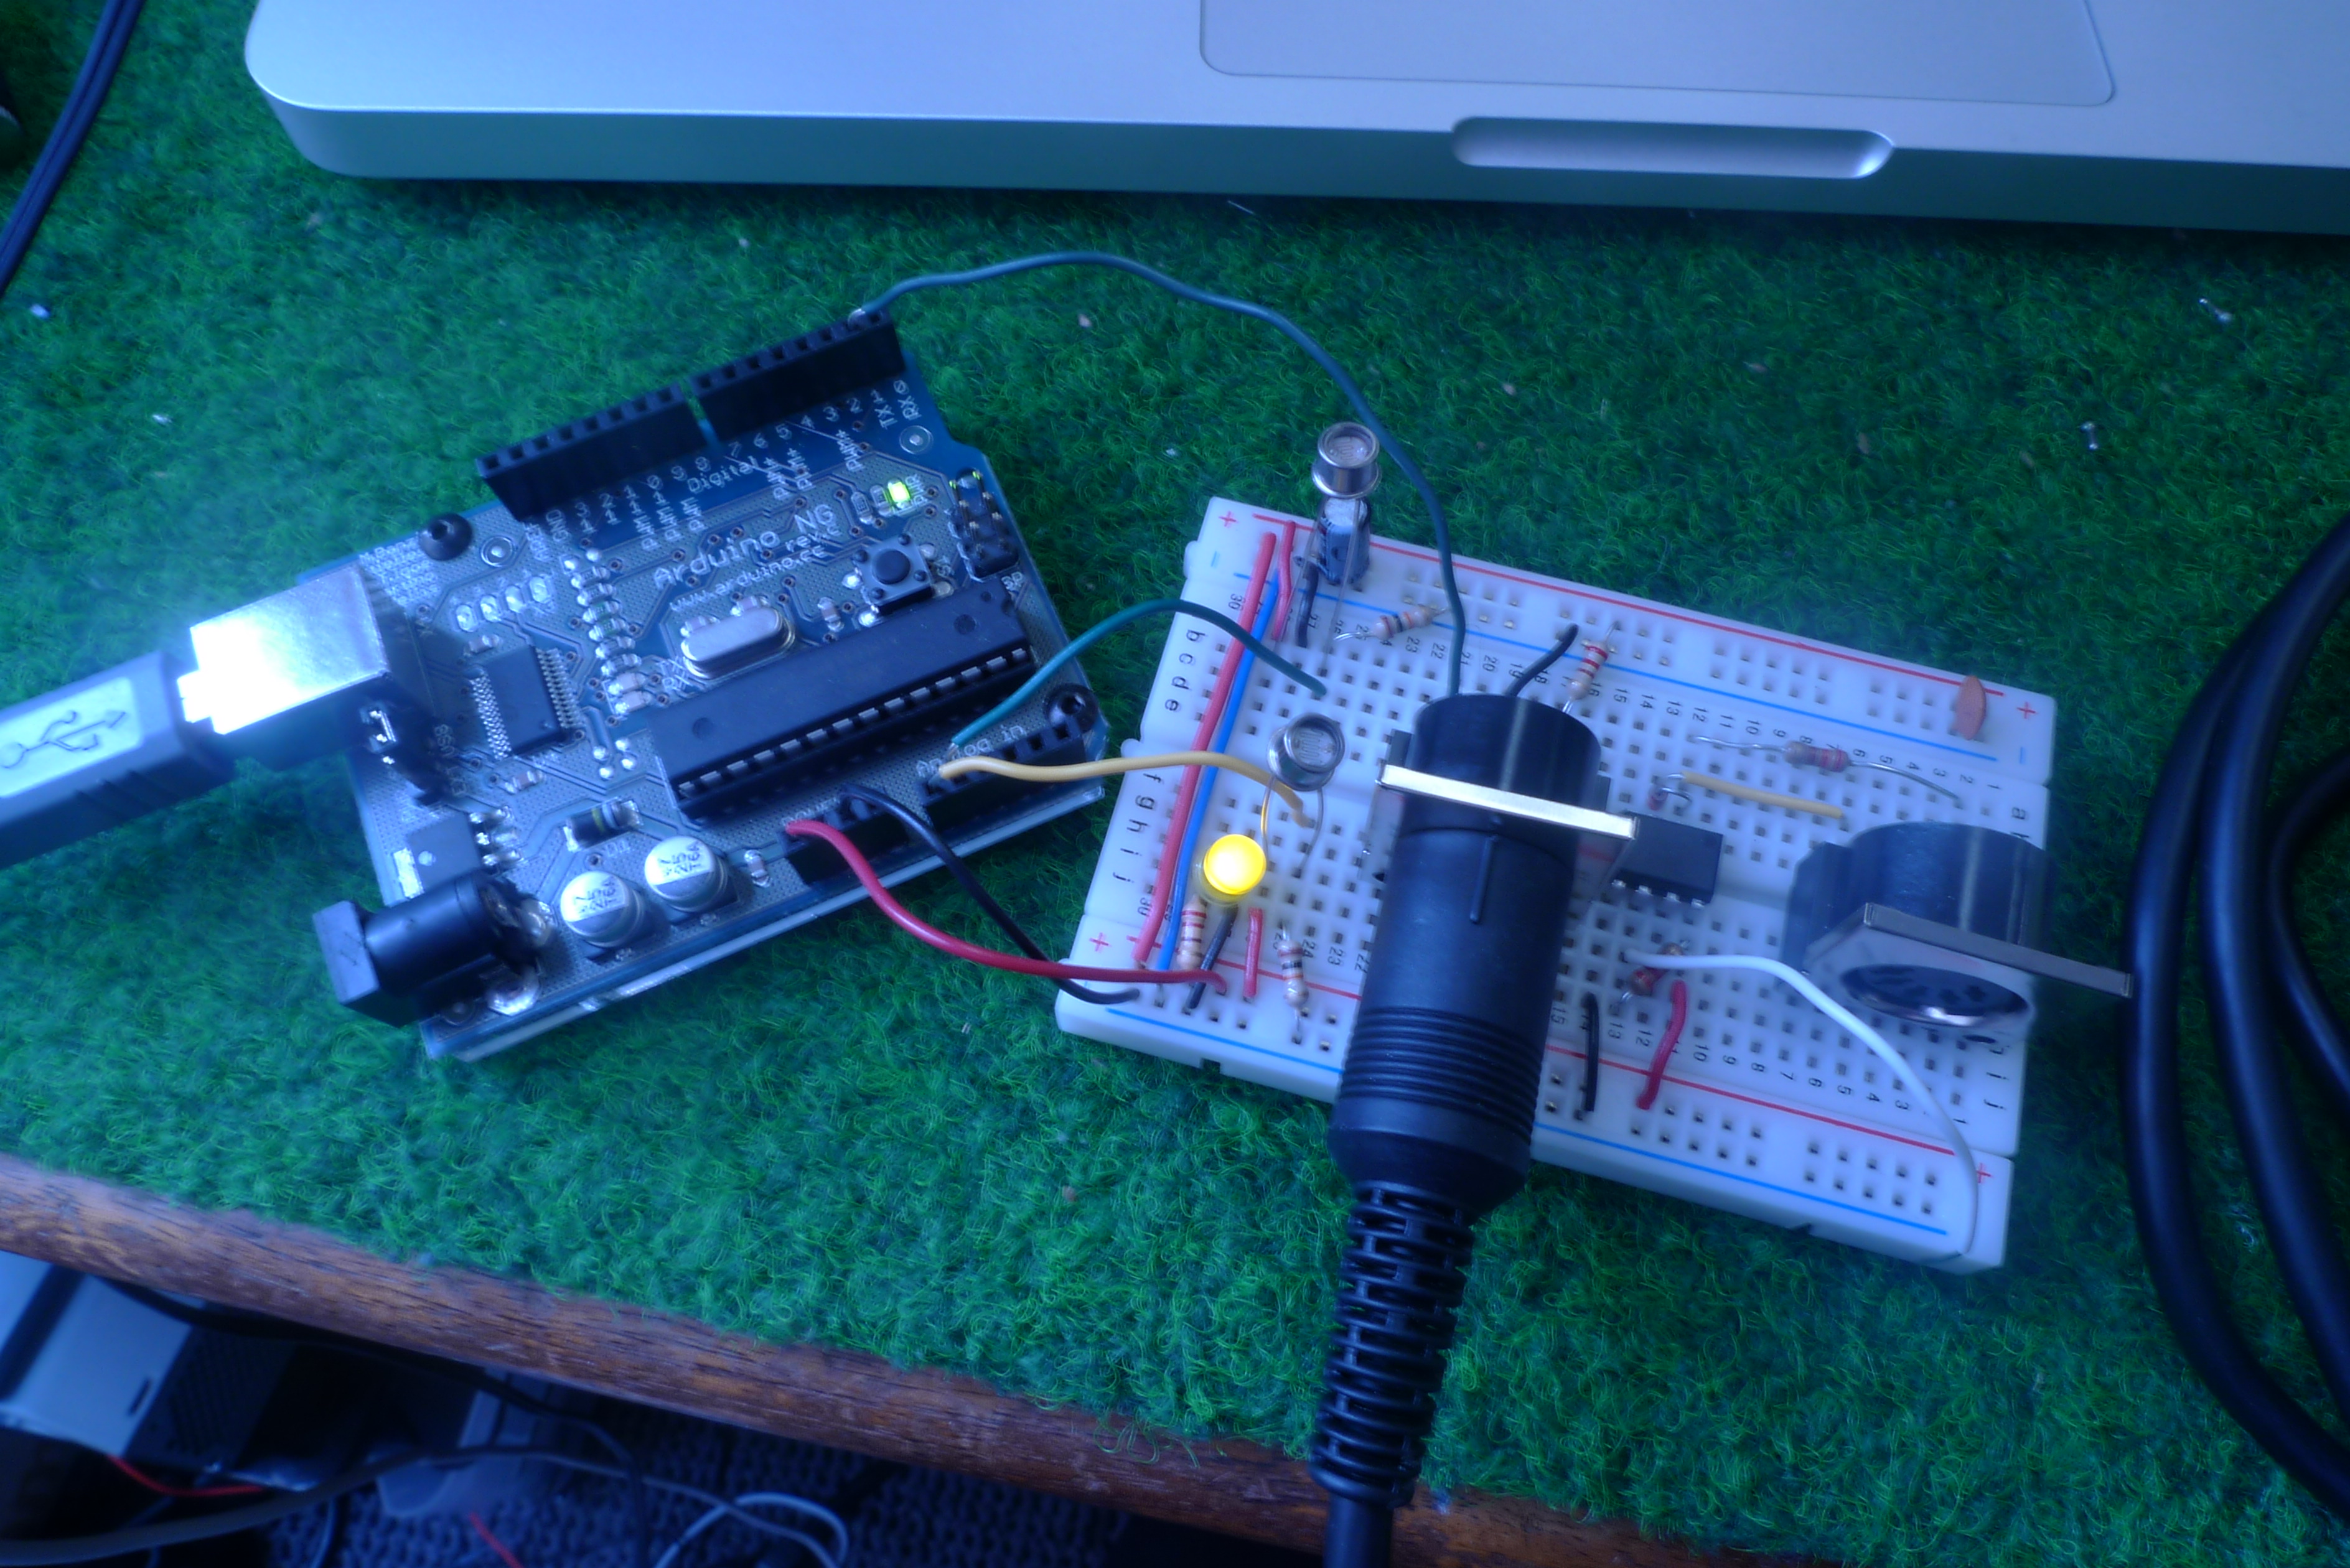
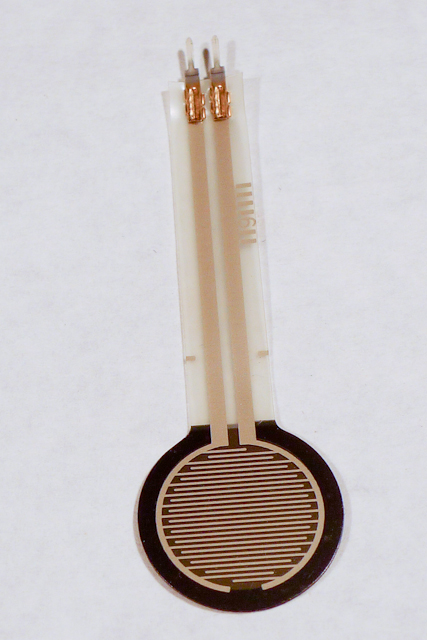
Here we have a little Arduino instrument we whipped up using the MIDI Output Lab. It features two photocells, one controlling the pitch (or note being sent) and the other controlling the volume. Now that we are sending MIDI messages, we need to get them into the computer.
USB-to-MIDI Interfaces
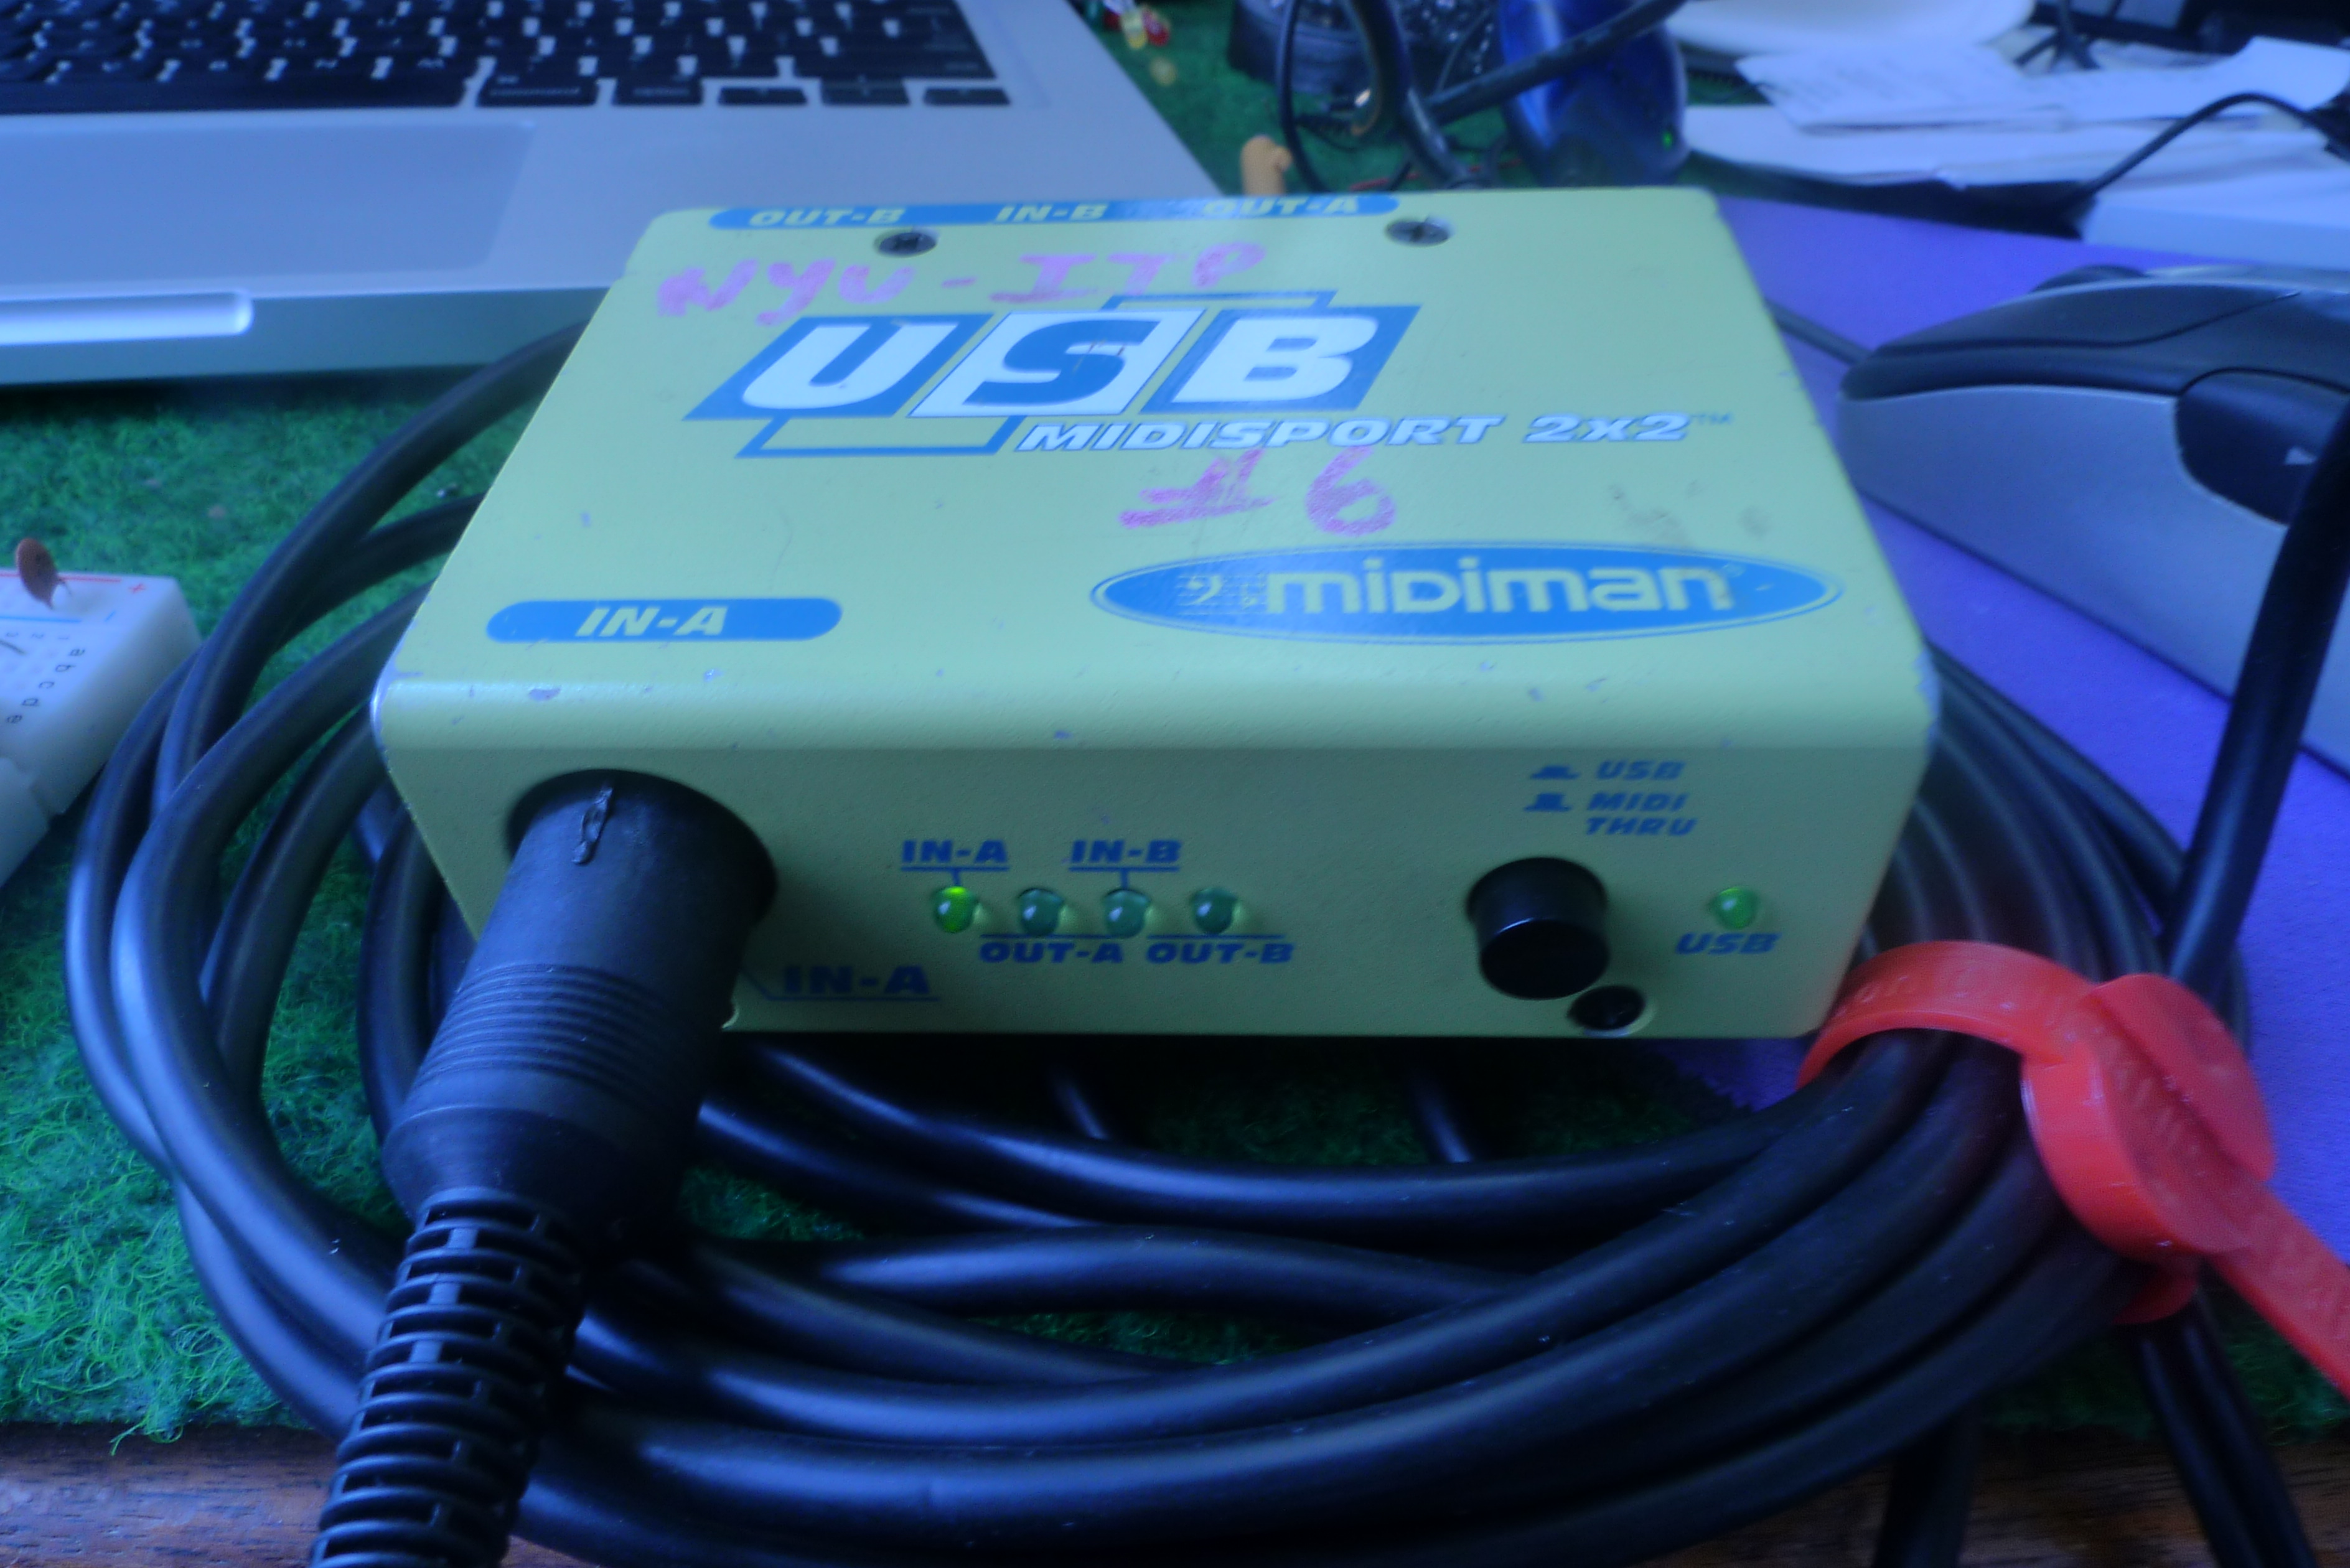
To get the MIDI messages into the computer, you will need a USB MIDI interface. A MIDISport 2×2 like the one pictured can be found in the Equipment Room. For more information see the technical details on the MIDISport. The interface connects to your computer via the USB cable and to the Arduino via a MIDI cable. Connect the Arduino to the MIDI In port of the interface.
Alternatively, you can use the MIDIUSB library to send MIDI via USB if you are using an ARM-based Arduino board like the MKR series. Doing so will eliminate the need for a USB-to-MIDI adapter like the MIDISport. Your Arduino will communicate directly with the computer as a MIDI device over USB.
Note on MIDIUSB and Serial Ports
The MIDIUSB library on the SAMD boards (MKRZero, MKR1xxx, Nano 33IoT) has an unusual behavior: using it changes the serial port enumeration. When you include the MIDIUSB library in a sketch, your board’s serial port number will change. For example, on MacOS, if the port number is /dev/cu.usbmodem14101, then adding the MIDIUSB library will change it to /dev/cu.usbmodem14102. Removing the MIDIUSB library will change it back to /dev/cu.usbmodem14101. Similarly, if you double-tap the reset button to put the board in bootloader mode, the serial port will re-enumerate to its original number.
Windows and MIDIUSB
You may have trouble getting these MIDI sketches to work on Windows. On Windows, the default Arduino drivers must be uninstalled so the system can recognize the Arduino as both serial device and MIDI device. Read this issue and follow the instructions there.
Audio MIDI Setup
To connect with your device on MacOS you’ll need the Audio MIDI Setup application. It’s in the Utilities directory of your Applications directory.
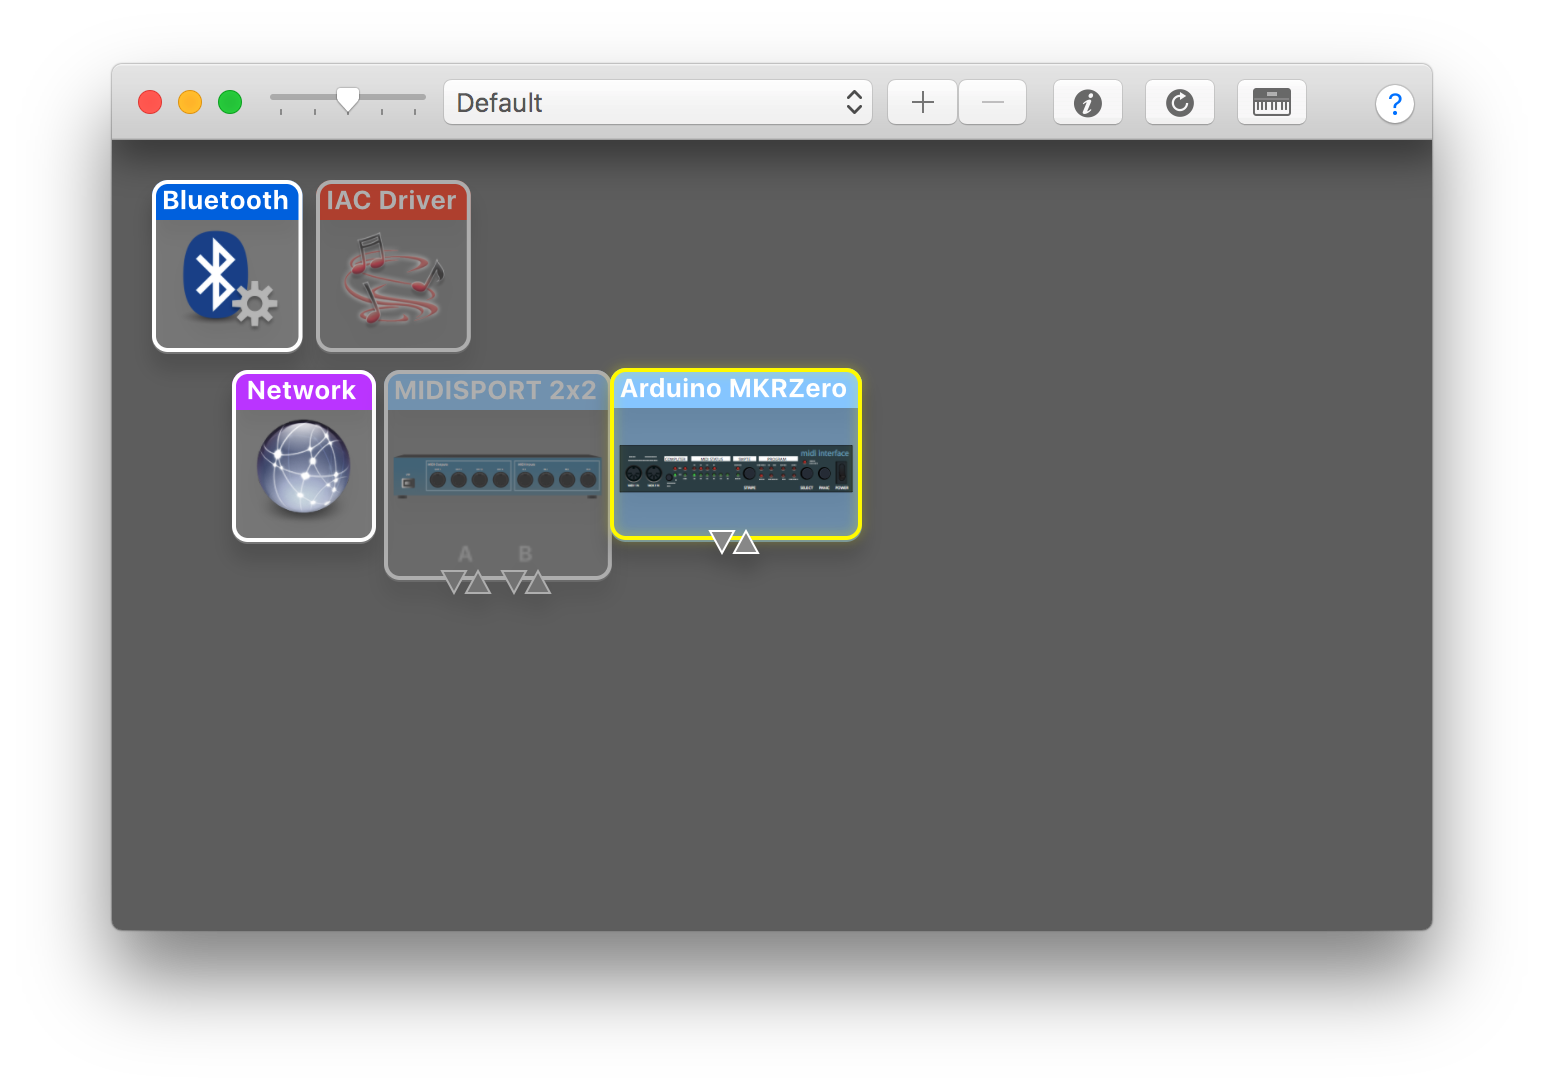
If you’re not using the MIDIUSB library, you will need to download drivers for the MIDI interface you are using. Go to the manufacturer’s website (for example, M-Audio’s driver page, where you can find the MIDISport under MIDI Interfaces) and download the drivers that correspond to your interface and operating system. Once the drivers are installed, the interface should be recognized by your computer. To check this, open up Audio MIDI Setup. If you only see the Audio setup, click Window in your task bar and select Show MIDI Studio. You should then see the window pictured here and the interface should appear colored in. Interfaces that are not connected will appear faded as shown above.
Preferences in your DAW Software
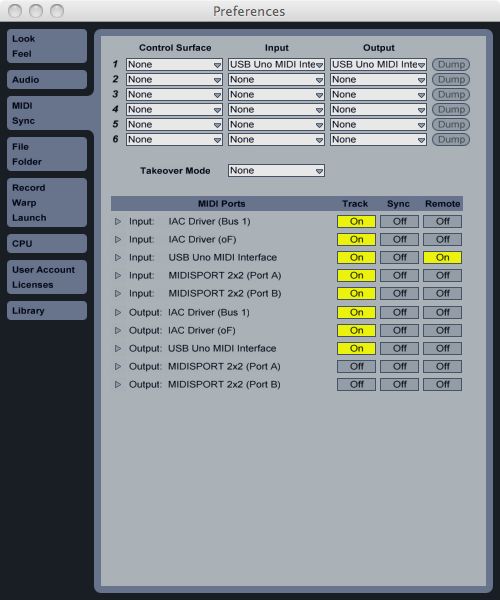
Now that your computer recognizes the MIDI interface, you need to set up your preferences in the DAW. In this case, we are using Ableton Live so open up the preferences window. Ableton will recognize the interface but the ports need to be set. Find your interface and where it says Input, turn on the button listed under Track. Now Live will receive MIDI messages on these ports.
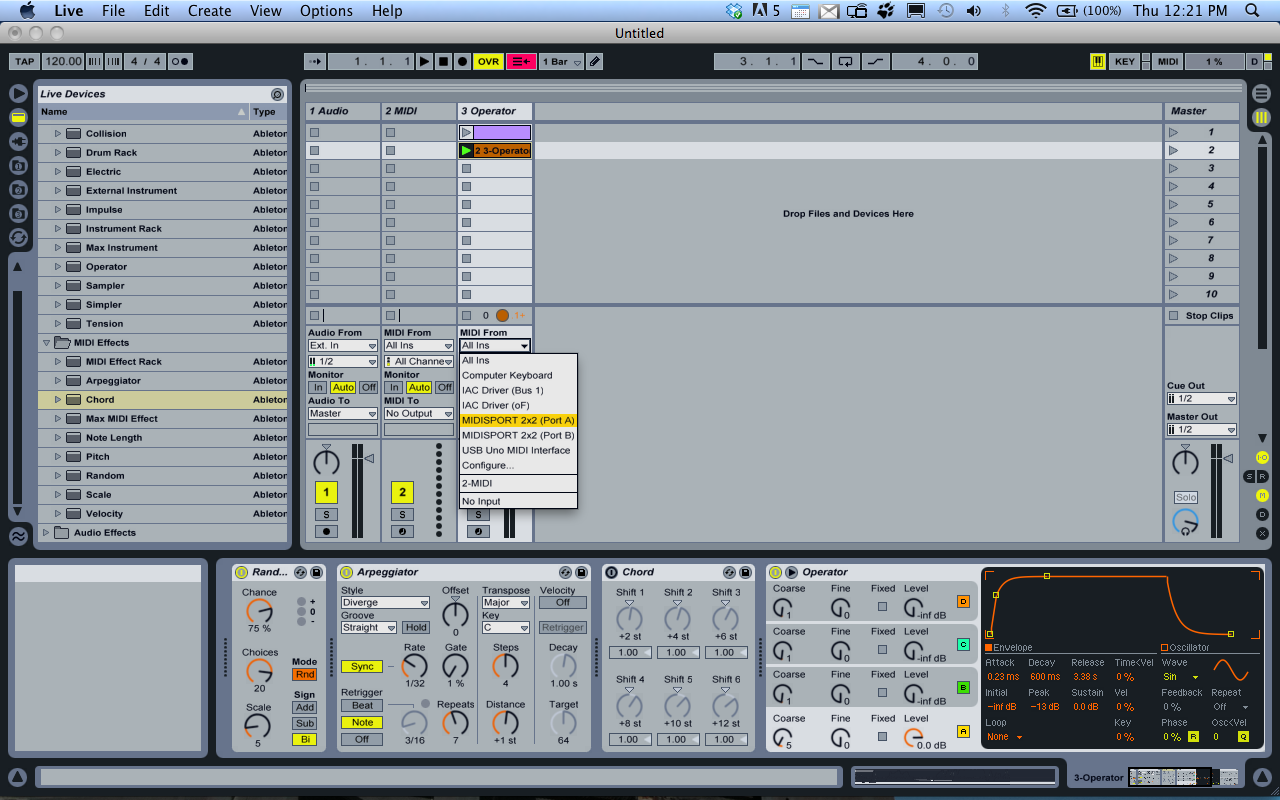
Select a MIDI track and add an instrument. Live has some instruments built in or you can use a third party plugin as a sound generator. In the screenshot above, the Operator FM synthesizer is selected. If you only have one device going in to Live, it is fine to leave the track’s MIDI input set to “All Ins.” If you have more than one, you will probably want to select a specific port as shown in the image above.
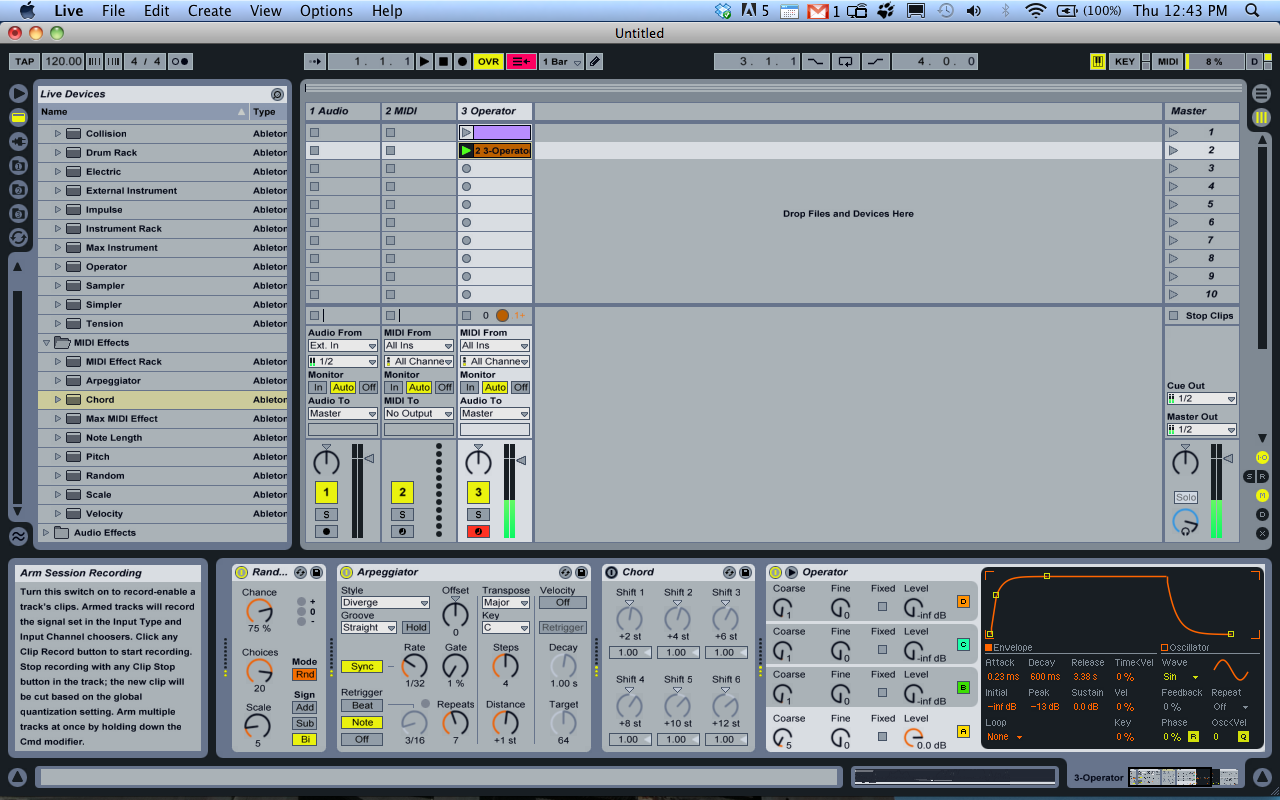
The last step is to Arm the track by clicking the Arm button on the bottom of the channel strip. Now you are ready to go. Start sending MIDI from the Arduino and you should be hearing your lovely new instrument.
MIDI Monitor App
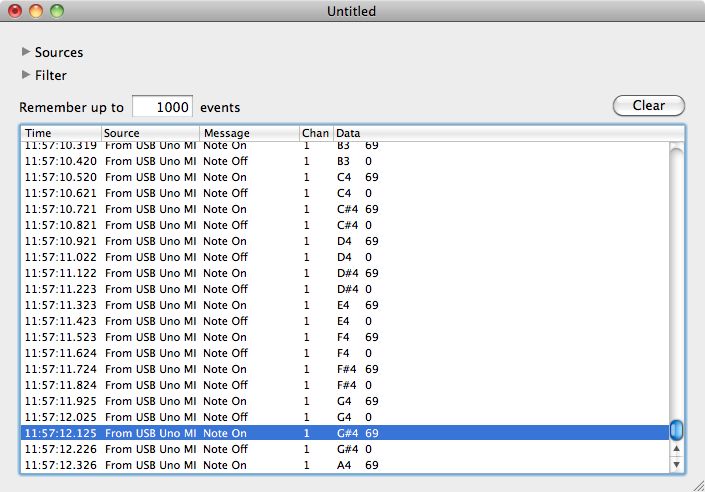
The Snoize MIDI monitor is a useful application to have if you do lots of MIDI input to your computer. You can download it from Snoize’s download page.
When running the application, MIDI Monitor will show you all the information that is coming in through the MIDI interface, such as the source, channel, message and note values. This is especially useful for debugging your MIDI instrument.